How to run EnergyPlus from the command line
This post describes how to run EnergyPlus from the command line, and why this is a good thing to do as part of an Open Research workflow.

What is EnergyPlus?
EnergyPlus is a building simulation software package used to make energy and environmental performance of buildings. It's one of the most popular of the building simulation tools and has been used in countless studies of building performance.
Many people first encounter EnergyPlus as part of a wider simulation software tool. It is the calculation engine used in, for example, DesignBuilder and OpenStudio.
Why use the command line to run EnergyPlus
Using the command line to run EnergyPlus enables us to:
- see exactly what input files EnergyPlus uses when it runs
- understand the options available when running EnergyPlus
- automate EnergyPlus by calling the command line from a programming script (for example a Python script running in a Jupyter notebook)
This means that we are using text-based commands to call EnergyPlus, which is a reproducible and reusable process suitable for an Open Research workflow.
Installing EnergyPlus
The latest version of EnergyPlus can be downloaded and installed from the EnergyPlus website download page: https://energyplus.net/downloads
This blog post is based on version 9.6.0, installed on a Windows 10 PC.
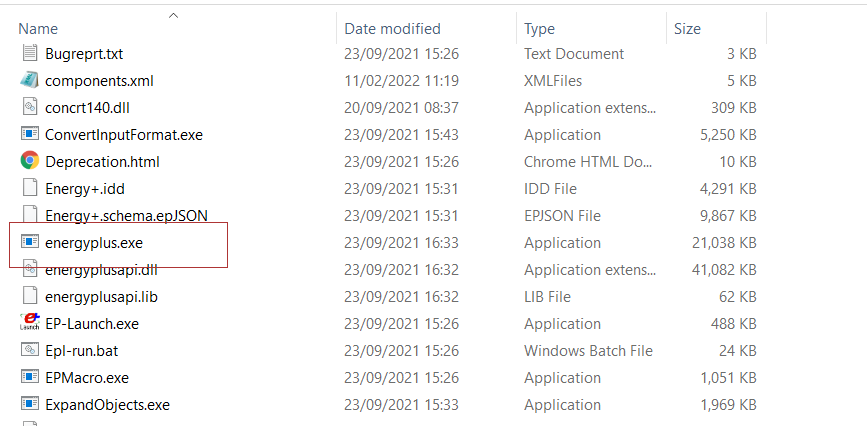
Once installed, open File Explorer and navigate to folder where EnergyPlus was installed. You should see a number of folders ('Datasets', 'Documentation', 'ExampleFiles' etc.). You should also see a large number of files. The file we are interested in is called 'energyplus.exe':
Working with the command line
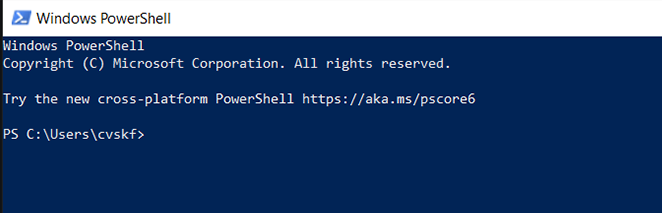
I use the Windows PowerShell for this kind of work. Click the Windows Start button, type PowerShell and click on the app when it appears.
This next step depends on where you have installed EnergyPlus on your computer. We can run the energyplus.exe from above by typing the full path into the PowerShell prompt and not including the '.exe' file extension.
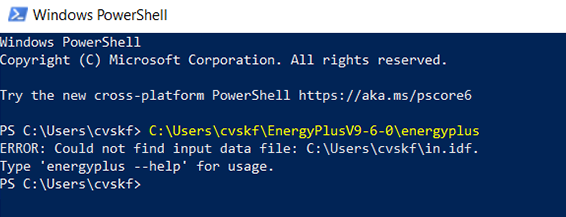
This works. EnergyPlus has run and told us that an error has occurred - in this case that there is no input data file specified. It also gives a hint as to what to do next, to run it again but also include '--help' to see the help guidance on running the program. Let's do this (use the up arrow in the PowerShell prompt to copy the previous prompt line).
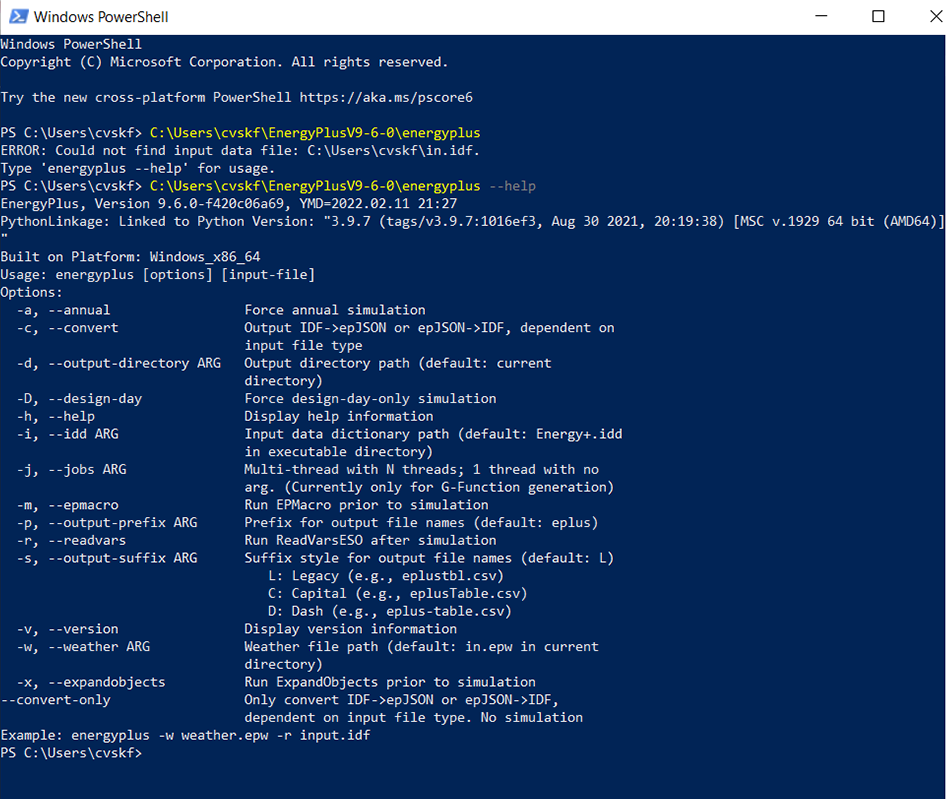
--help flag when calling EnergyPlus using the command lineThis has now listed the arguments and options can be used with the energyplus.exe file. These are described in more detail on the EnergyPlus GitHub page here, on the QuickStart webpage and in the EnergyPlus Essentials document.
Running an EnergyPlus simulation using the command line
To run an EnergyPlus simulation and create some results:
- create a folder where you would like the results files to be created
- place an EnergyPlus weather file into this folder (perhaps from the WeatherData folder in the install directory)
- place an EnergyPlus input data file into this folder (perhaps from the ExampleFiles folder in the install directory). This could be either an 'idf' or an 'epJSON' file.
- in the PowerShell prompt, change the working directory to the new folder using the
cdcommand - in the PowerShell prompt, call the energyplus.exe file and include the arguments for the weather file (using the
-wflag) and the input file.
Here is an example:
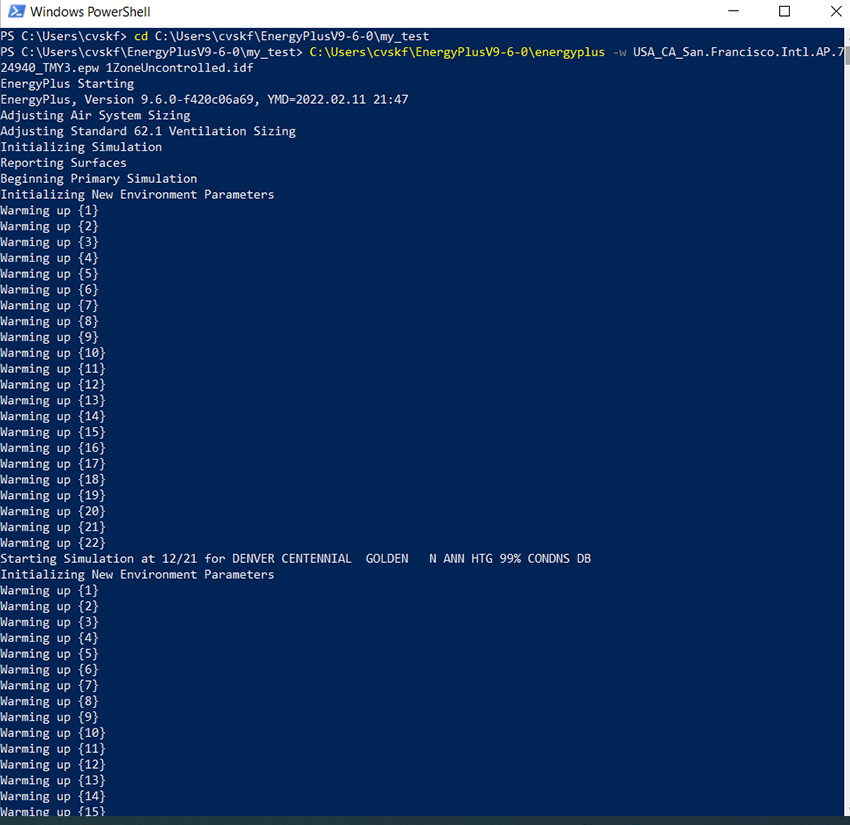
For clarity, the commands used here are:
1) The cd command to change the working directory to where the simulation should take place and where the results files will be created. I used a newly-created folder 'my_test' in the EnergyPlus install directory, but this could be any folder you like.
cd C:\Users\cvskf\EnergyPlusV9-6-0\my_test2) The C:\Users\cvskf\EnergyPlusV9-6-0\energyplus command to run EnergyPlus, togetether with the weather file name (after the -w flag) and the input data file name.
C:\Users\cvskf\EnergyPlusV9-6-0\energyplus -w USA_CA_San.Francisco.Intl.AP.724940_TMY3.epw 1ZoneUncontrolled.idfIf everything worked then the very last line in the prompt should read "EnergyPlus Completed Successfully" and the folder should contain the results files:
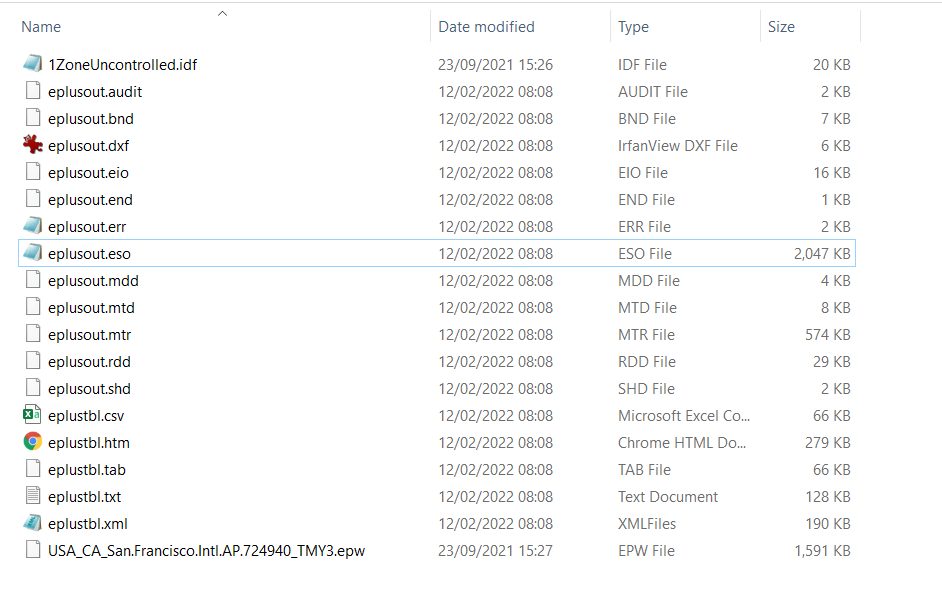
The '.eso' file contains the simulation results such as the energy consumption and internal temperatures. The '.err' file contains any errors that occurred either from reading the input file or during the simulation.
The '.eso' results file is not particularly easy to read. Including the --readvars flag in the command line prompt asks EnergyPlus to also create a .csv file of the results.
Next steps
Once this initial process is working, you can then experiment with the various options when calling EnergyPlus from the command line. This gives a good sense of what the programme is capable of doing.
A further step is to automate EnergyPlus by writing scripts which call EnergyPlus using the command line. For example, in Python see the subprocess.run method.